
Adding a Header to a Location
Last updated August 27, 2026
locationThis guide explains how to add or update the header (banner) image and status badges shown at the top of a location's Overview page in Dash.
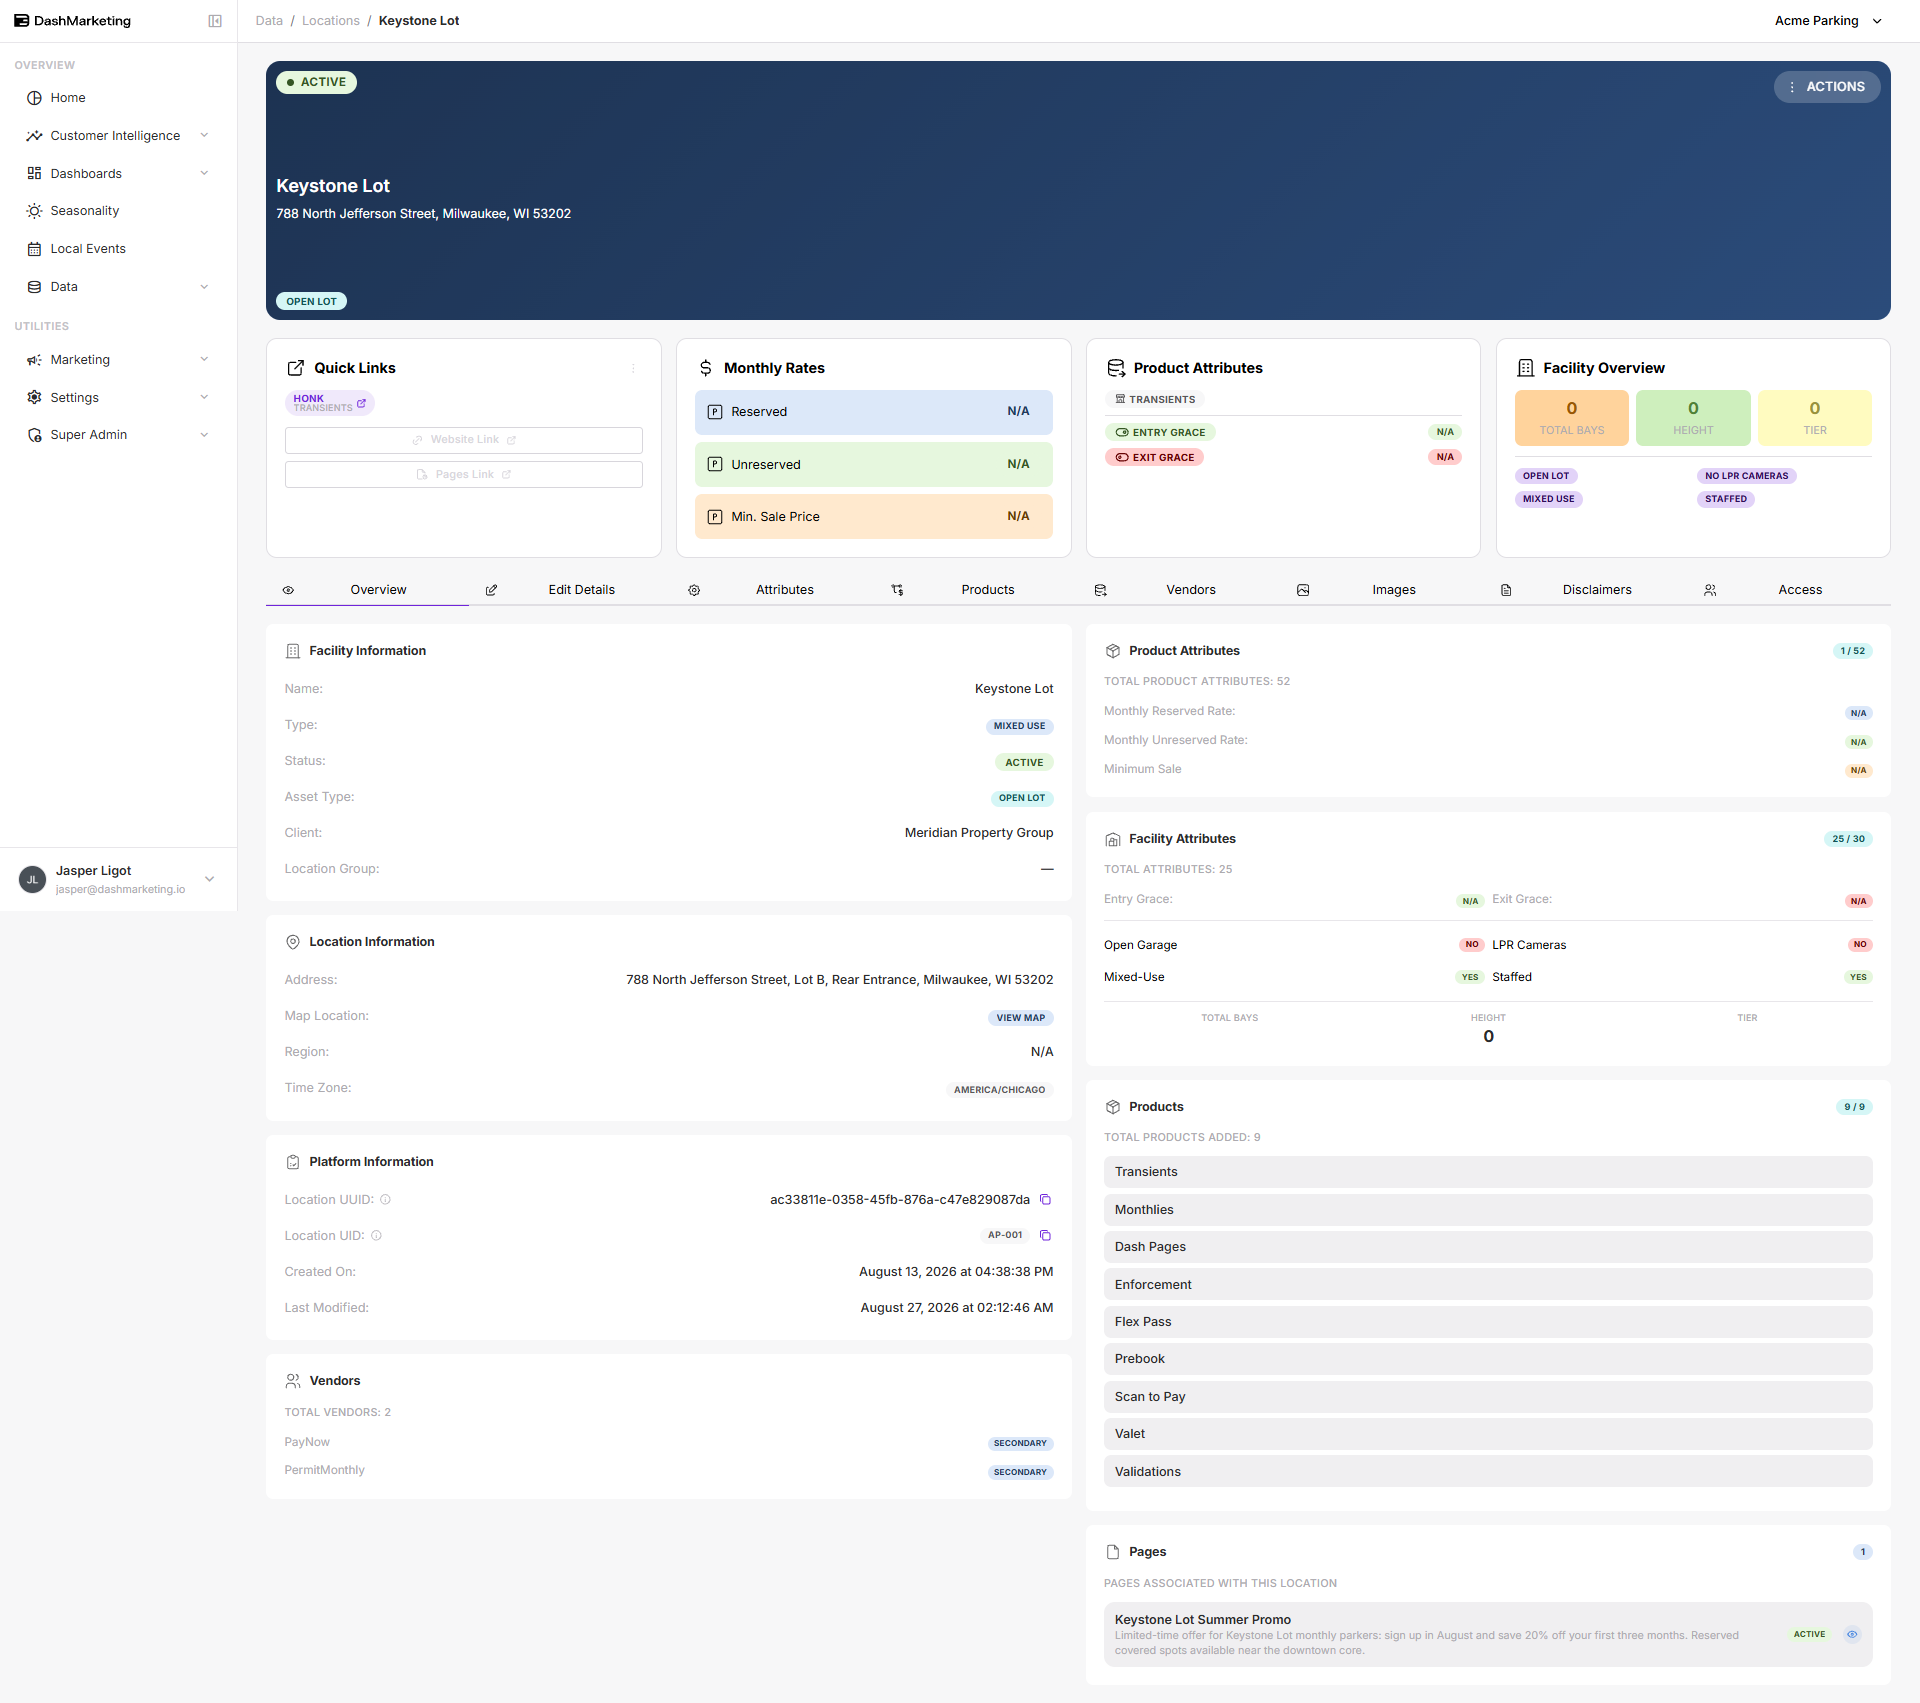
Below: the Overview page before a custom header image is set — a generic banner and "N/A" placeholders are shown until data and imagery are added.
Opening the dialog
Go to the location's Overview page and click the ACTIONS button in the top-right corner.
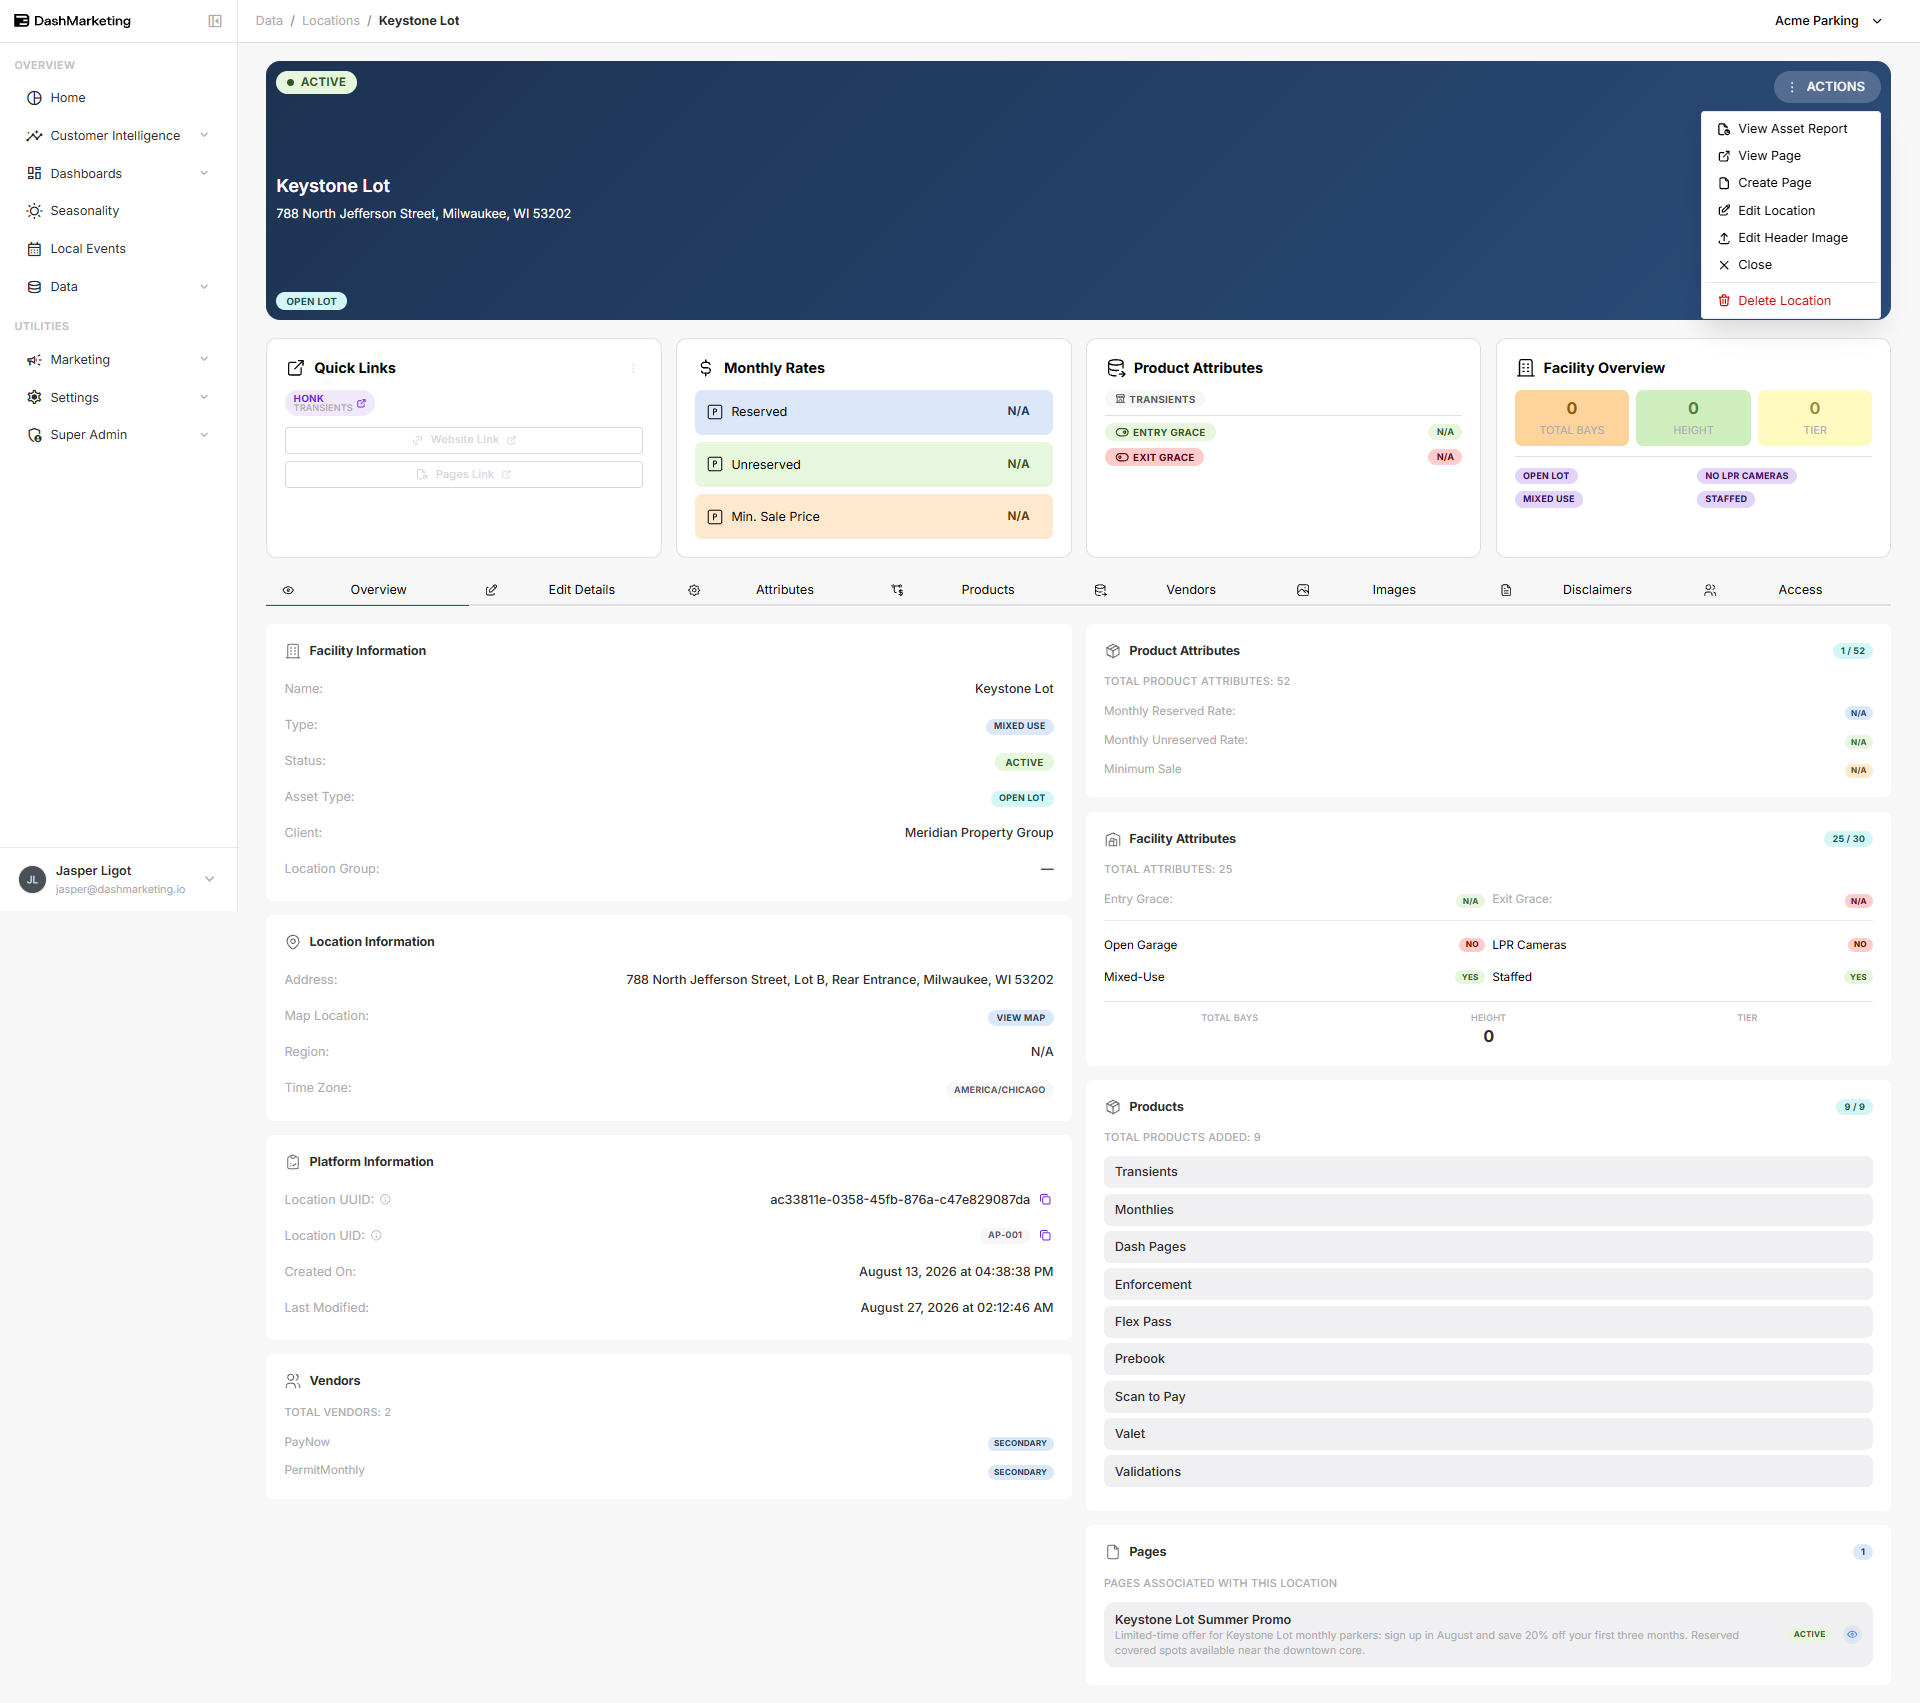 Above: opening the Actions menu on the location's Overview page (top-right "ACTIONS" button) reveals "Edit Header Image" alongside the other location-level actions.
Select Edit Header Image from the menu.
Uploading the image
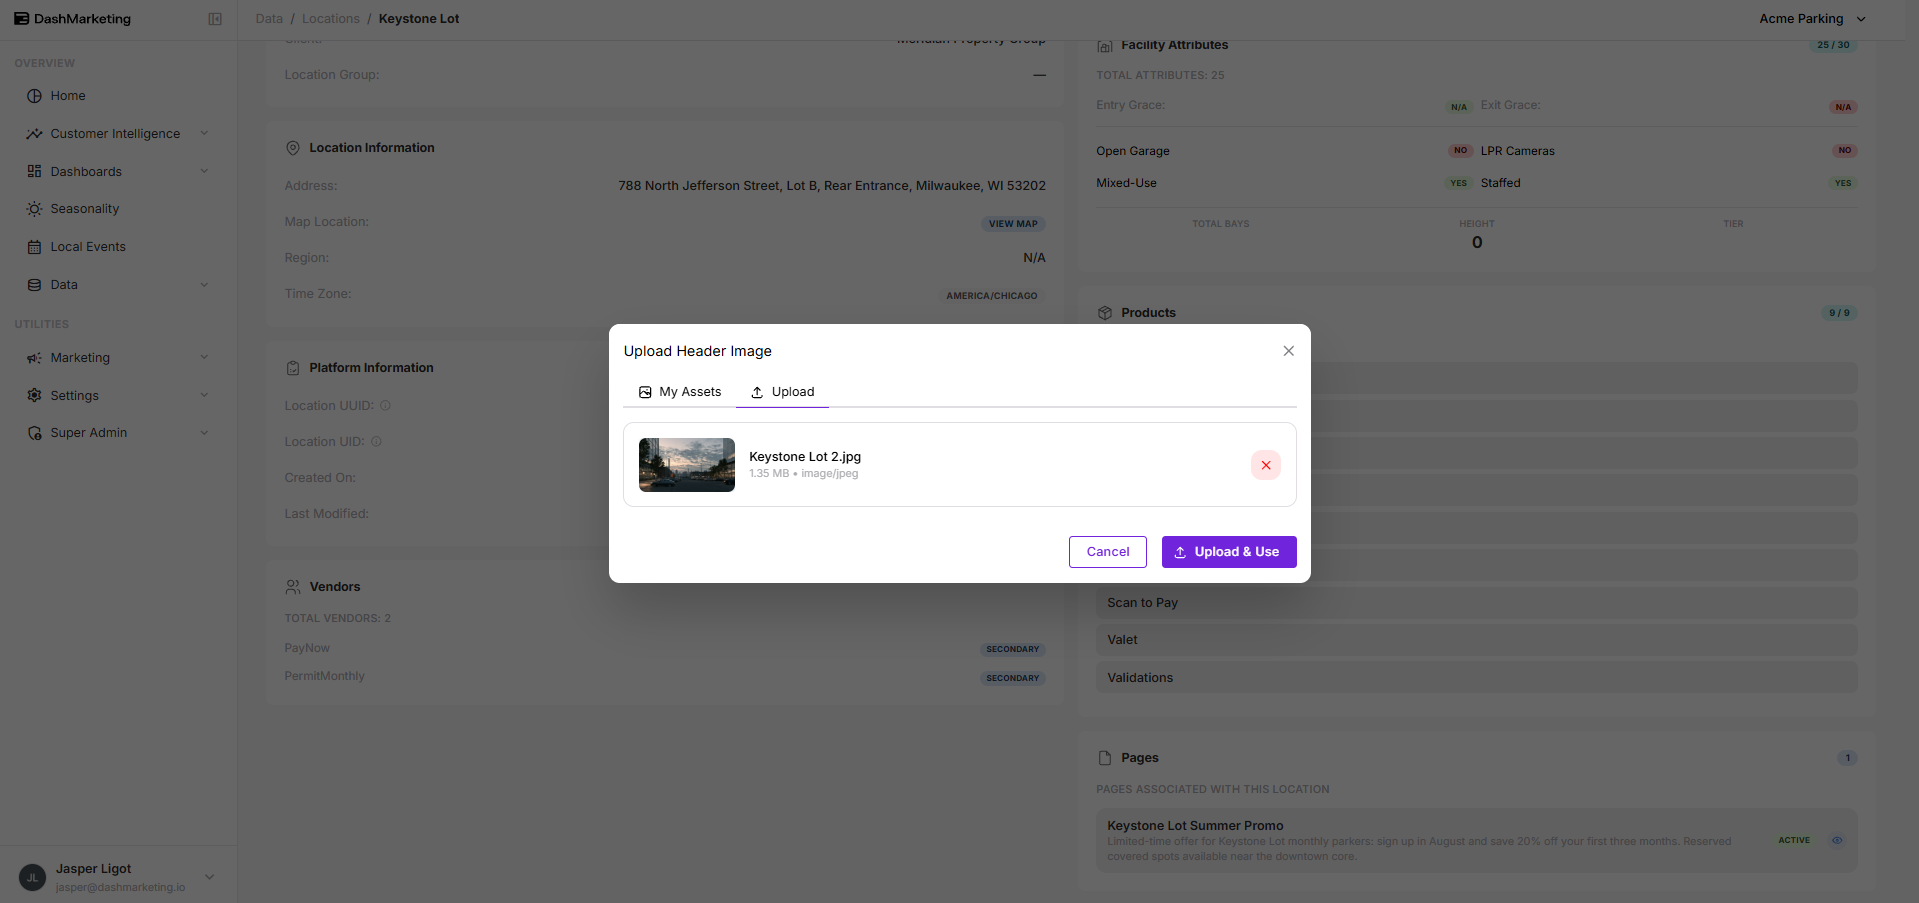
The Upload Header Image dialog opens.
- Choose the Upload tab.
- Select an image file (e.g. "Keystone Lot 2.jpg").
- Click Upload & Use to apply it as the new banner.
Above: selecting "Edit Header Image" opens the Upload Header Image dialog. Choose the Upload tab, select an image file (e.g. "Keystone Lot 2.jpg"), then click "Upload & Use" to apply it as the new banner.
Confirming
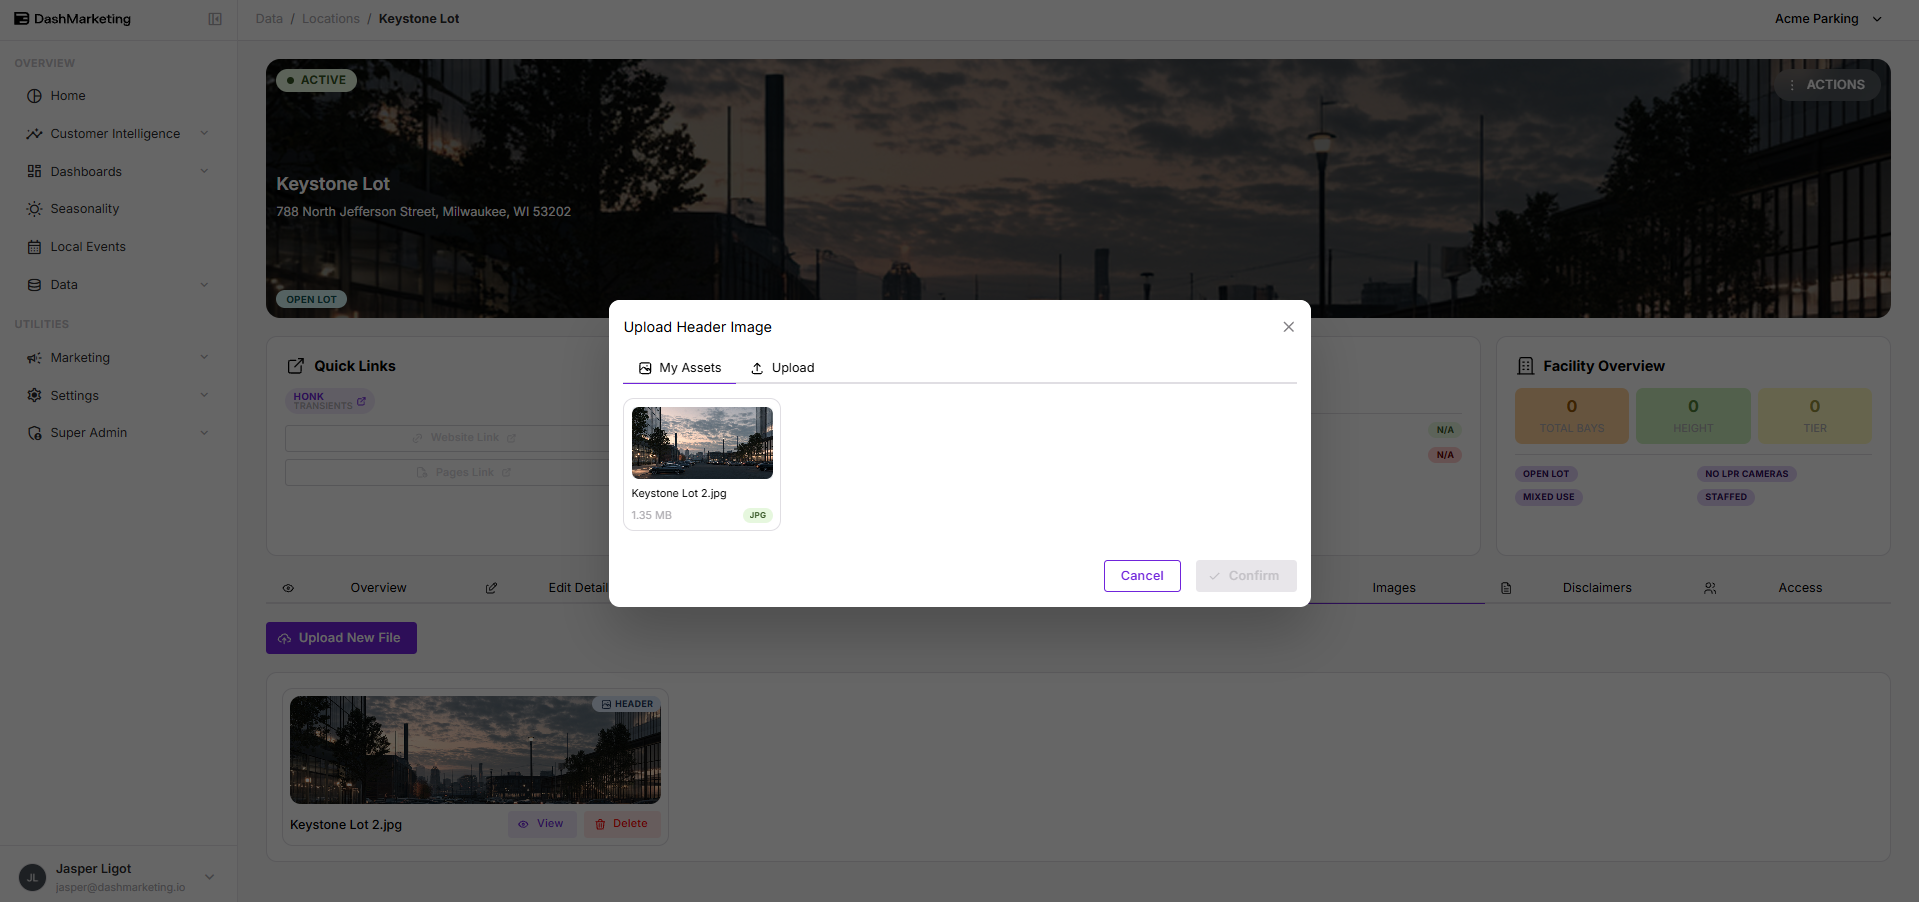
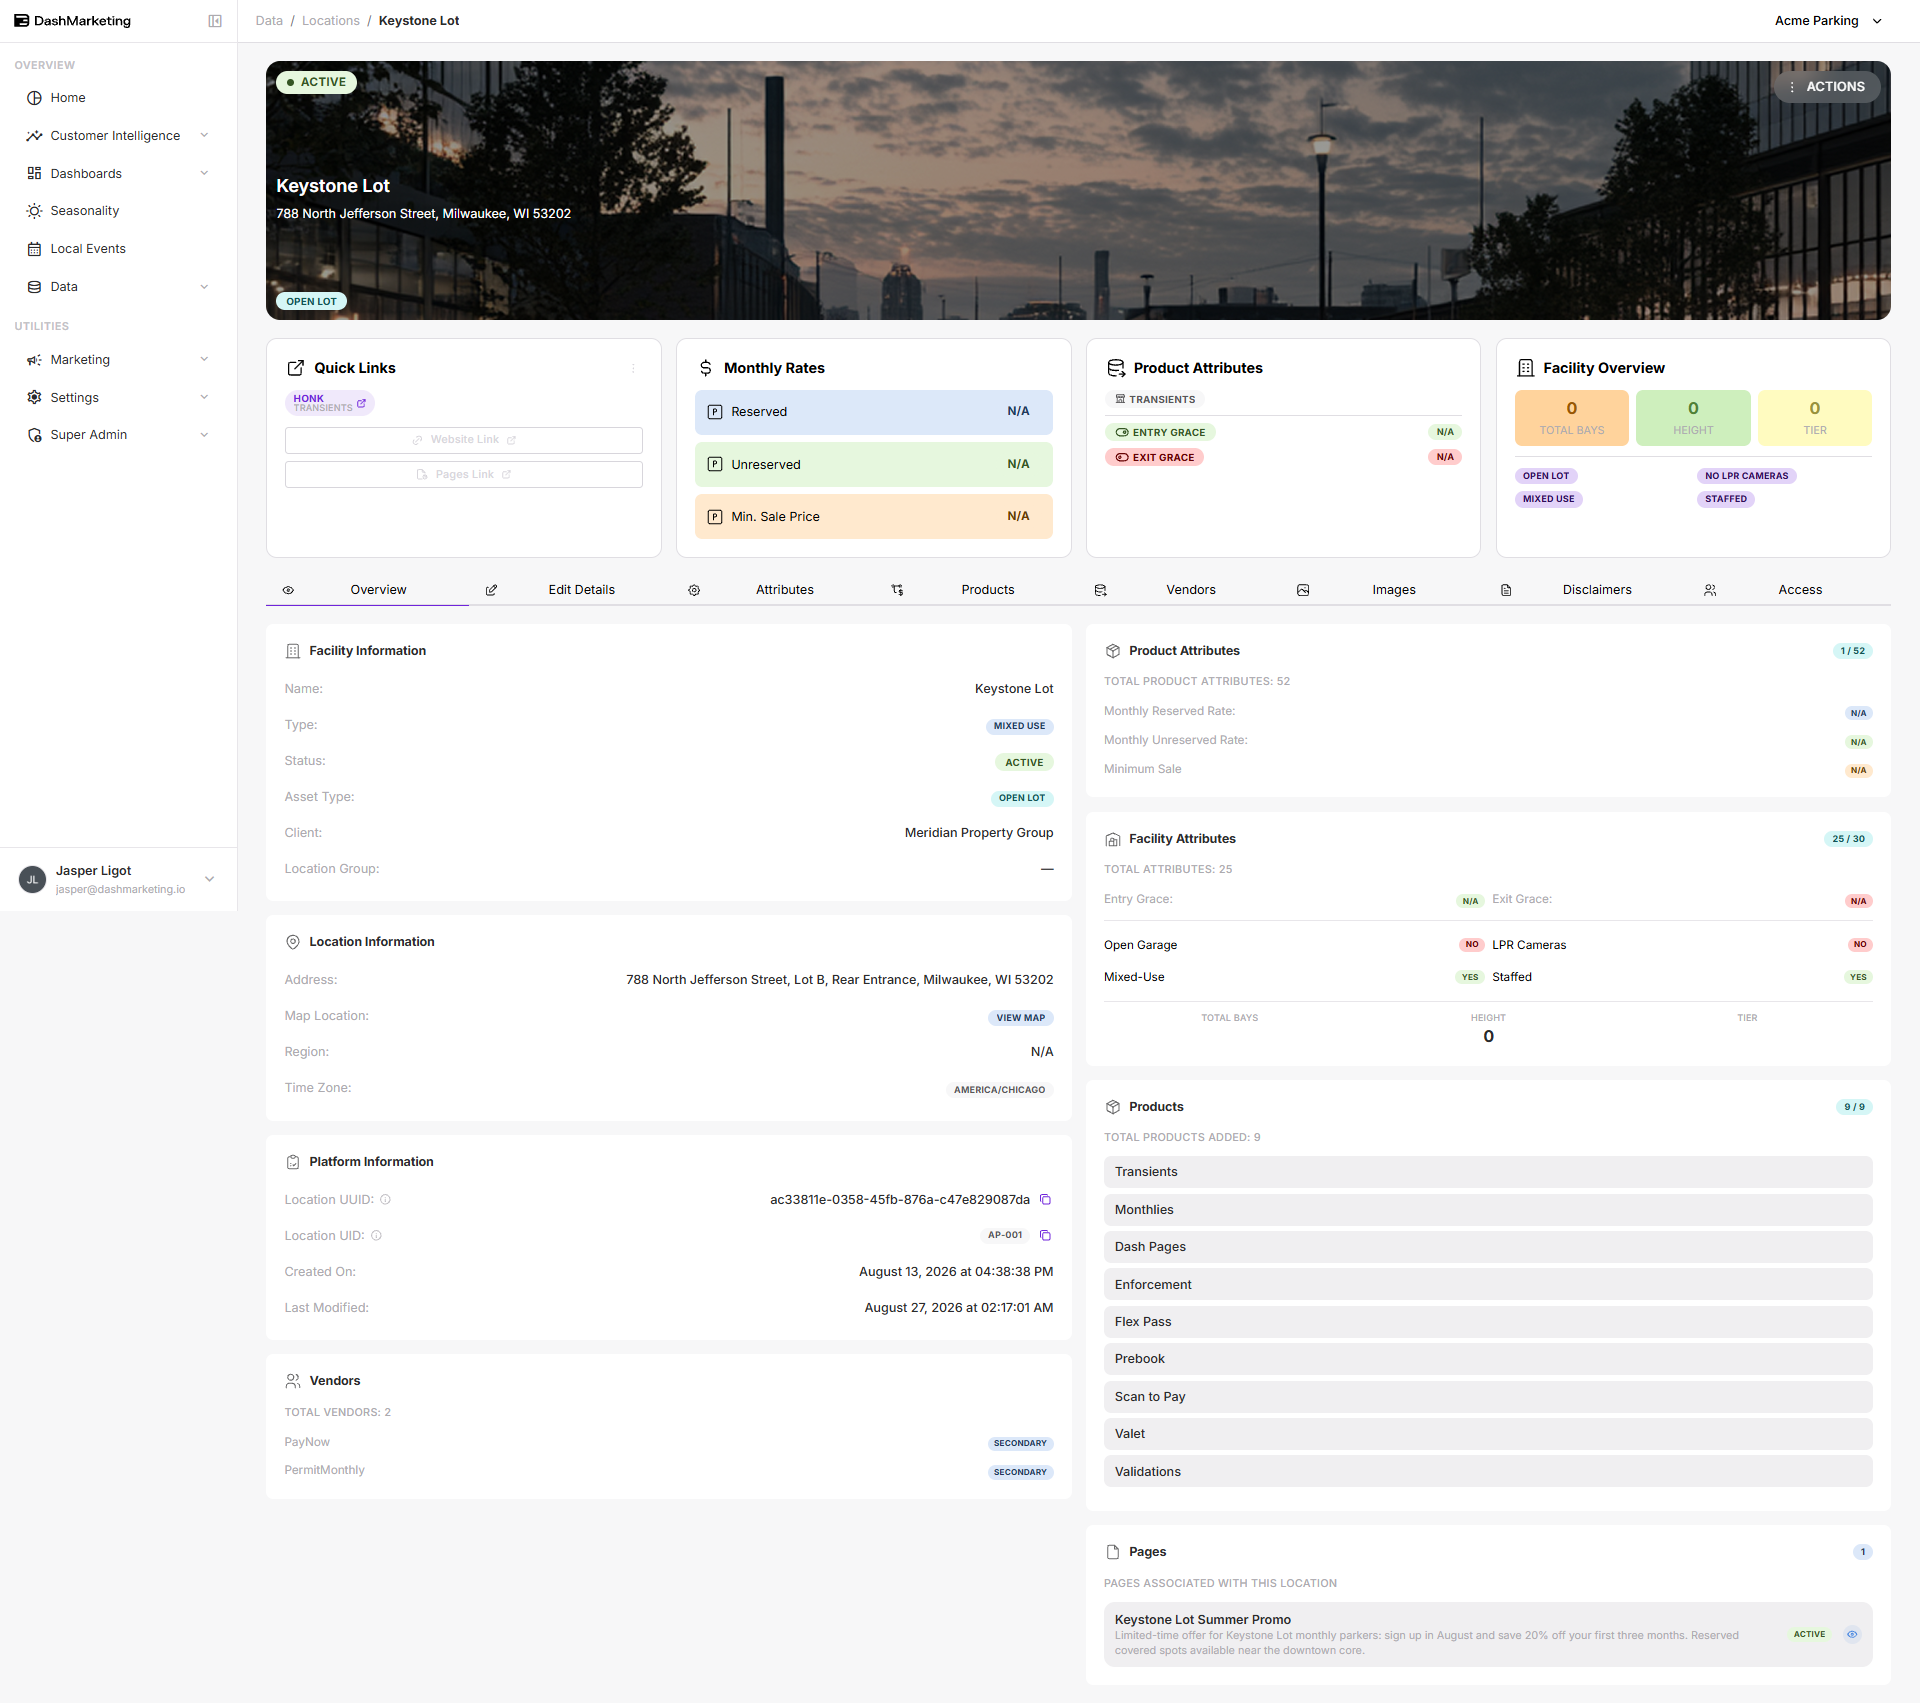
Click Confirm in the asset picker, then Upload & Use. The dialog closes and the new image is applied as the location's header banner.
Above: after clicking "Confirm" in the asset picker and then "Upload & Use", the dialog closes and the new image is applied as the location's header banner.
Notes
- Recommended size: a wide landscape banner, roughly 1600x400px, for the best fit.
- Cosmetic only: the header image does not affect any facility data, attributes, products, or rates.
- Status badges (Active/Inactive, tier, etc.) shown on top of the banner are controlled separately via Edit Details and Attributes — not through this dialog.
Was this page helpful?